Easy WiFi – WPS
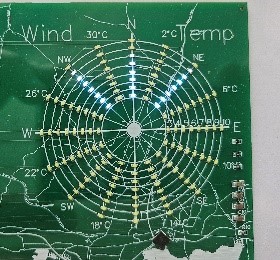
- Find the WPS button on your WIFI router.
- Press the button for a few seconds.
- The WPS light on your router should start flashing
- You have approx. 2 minutes to power on your map.
- It will automatically connect to your WIFI.
When the map connects it will restart automatically after approximately 1 minute.
If the maps fails to connect after 3 minutes, repeat the process, you may need to do this 2 or three times.
If after continued failed attempts or if your router does not have a WPS button, follow the Manual Setup instructions.
Manual Setup
The wind Indicator will show as below.
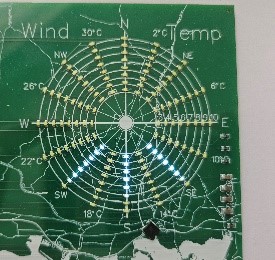
- Check for WIFI access points from a mobile or laptop.
- Connect to AutoConnectAP wireless access point – you may be warned that internet is unavailable – this is normal accept the warning and continue.
Scan a connection QR Code for your mobile device and open the link.



You will be presented with the WiFi Manager
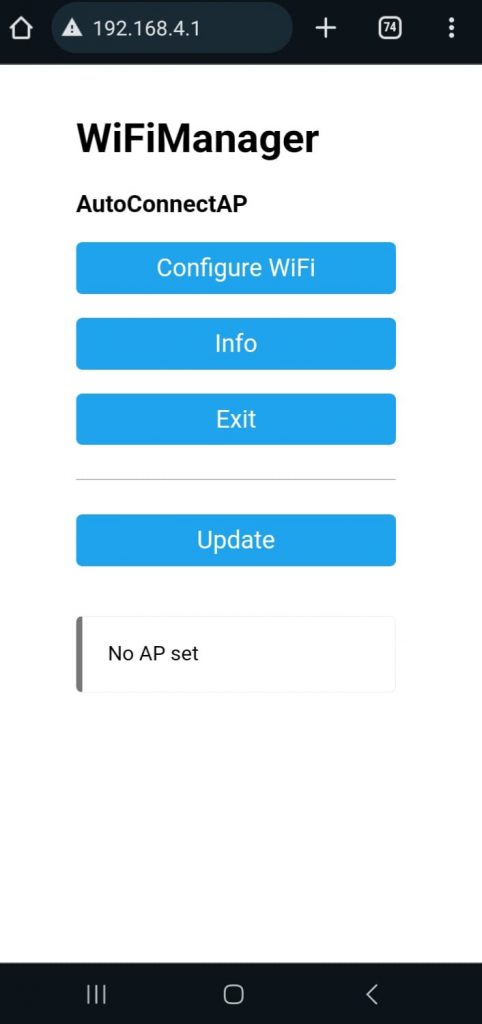
- Press “Configure WIFI”.
- Select your local WIFI SSID name and enter the password.
- The unit will restart and connect to your WIFI
When the connection is successful it may restart multiple time as it gets the latest software version, be patient during this process and avoid turning off the map.
Once up-to-date the connection is confirmed by the flashing Needles lighthouse and a wind and temperature display.